The security patch that Microsoft released does some changes in the Registry of Windows 10. It prohibits users (except for the admin) from installing unsigned printer devices to the PC. If you are searching for a way to fix the PrintNightmare Vulnerability Error in Windows 10, then you are at the right place.
Fix PrintNightmare Vulnerability Issue In Windows 10
We have listed the working methods to fix the PrintNightmare vulnerability error in Windows 10.
1 Fix PrintNightmare Vulnerability Issue In Windows 102 Updating Windows 3 Downloading The Update Through Windows Update Catalog4 Modify The Registry Entry5 Summing Up
Updating Windows
Microsoft addressed this vulnerability and soon released a security patch to fix the issue. The security patch was rolled out for Windows 10 version 21H1, 20H2, v2004, v1909, and various others. You can update the Windows, and the error will be fixed.
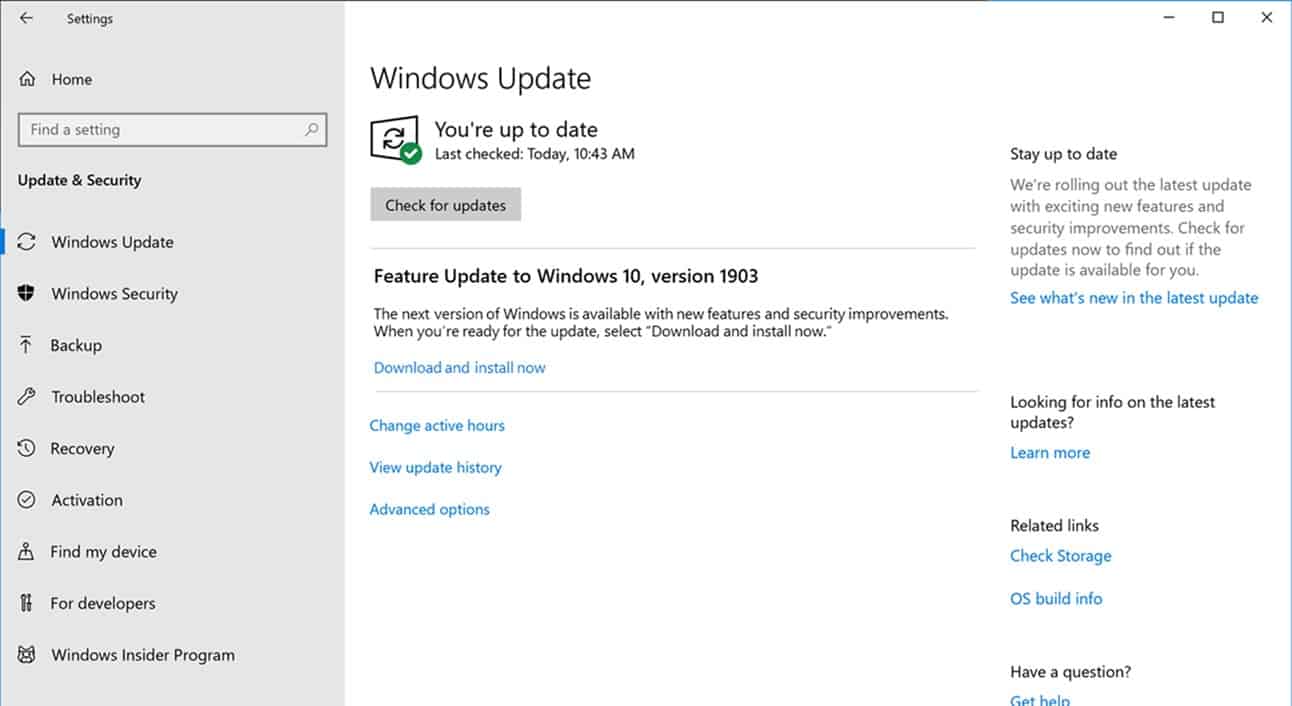
Go to the settings of your PC.In the settings, click on update and security. Click on check for updates to begin checking for updates.
Once the settings find the latest update, download and install them on your PC.After the updates have been installed, reboot your PC, and the error will be fixed.
Downloading The Update Through Windows Update Catalog
If you cannot download the update through the Windows Update settings or don’t find the update, you can manually download the update through the Windows Update Catalog. You can find the update with the security patch to fix PrintNightmare Vulnerability in Windows 10, download it and install it manually.
If you are using Windows 10 version 21H1, 20H2, or 2004 then you can find the security patch update for these versions of Windows 10 from here . If you are running Windows 10 version 1909, you can find the latest security patch from here.Click on the respective link to download the Windows update.Once the update has been downloaded, double-click on it to install the update.The update will be installed on your PC. After installing the security patch, restart your PC.
Modify The Registry Entry
The security patch released by Microsoft modifies some Registry Entry to fix PrintNightmare vulnerability error in Windows 11. If you cannot download and install the update, you can manually make some changes to fix the vulnerability. Follow the steps given below to modify the registry entry on your PC.
Open the start menu on your PC. In the start menu, search for Registry Editor and open it. Head to the following path in the Registry Editor-
HKEY_LOCAL_MACHINE \Software\Policies\Microsoft\Windows NT\Printers\PointAndPrint
Right-click on PointAndPrint in the left sidebar, and then click on New and then select DWORD (32-bit) value.
Name the value as RestrictDriverInstallationToAdministrators.Once done, double-click on the new value you created from the right side. Set the value to 0, and then click on OK. Once done, close the Registry Editor and then restart your PC.
Once done, you will no longer face the PrintNightmare Vulnerability error in Windows 10. However, you can try to install Windows 11. READ MORE:
How to Upgrade Windows 10 to Windows 11Windows 10 Media Creation ToolFix Keyboard Stopped Typing on Windows 10
Summing Up
The methods in this article can help you in resolving the PrintNightmare Vulnerability error in Windows 10. If you are unable to download the update using the first two methods, you can use the third method to modify the Registry. We hope this aids in the resolution of the issue. If it was of assistance to you, please let us know in the comments section.
Δ


