There is no specific reason due to which this error occurs but, it can be fixed by executing some simple methods. Below, we have listed all the methods which you can use to fix Windows 10 search not working error.
Method 1: Restart your Windows PC.
Sometimes, all you need to do is restart your PC to fix this error. Restarting your PC will give a soft reset to it and the Windows Search not working error will be automatically fixed.
1 How to Fix Windows 10 Search Not Working?1.1 Method 1: Restart your Windows PC.1.2 Method 2: Reset Windows Search back to the default.1.3 Method 3: Check for Updates / Roll back updates.1.4 Method 4: Run Indexing troubleshooter.1.5 Method 5: Restart Windows Search.1.6 Method 6: Modify Windows Search service.1.7 Method 7: Rebuild the Index.1.8 Method 8: Reset Cortana.1.9 Conclusion:
If not, go ahead with the next method listed below.
Method 2: Reset Windows Search back to the default.
This method is useful for PCs running on Windows 10 version 1903 or later.
On your PC, go to Settings » Update & Security » Troubleshoot » View History. Then, check if your Windows Search has been fixed. If not, go ahead with the method listed below.
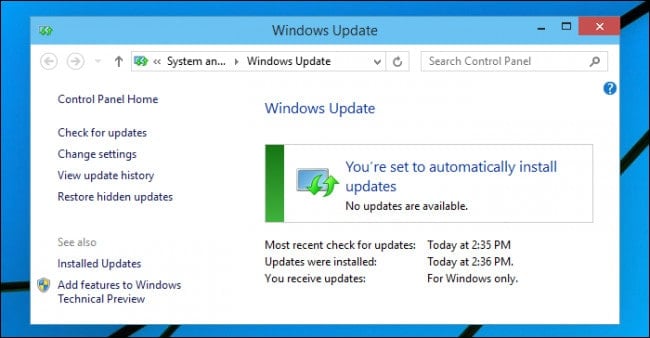
Method 3: Check for Updates / Roll back updates.
Windows frequently rolls out updates for its operating system. The users are expected to regularly update their operating system for a smooth and secure user experience. However, if your Windows 10 operating system is not up-to-date, you might come across errors including the Windows Search not working error.
How To Fix WiFi Connected But No Internet AccessHow To Fix Network Protocol Error on Mozilla FirefoxHow To Fix Google Play Services Keeps Stopping (8 Methods)
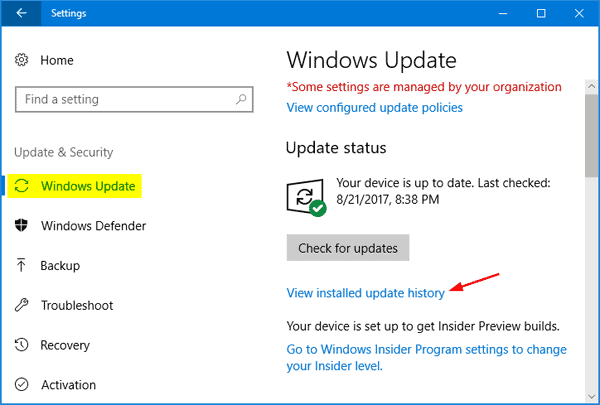
To fix it, you need to update your Windows 10 operating system to the latest version. On your PC, go to Settings » Update & Security » Windows Update » Check for updates. If you notice any pending update, install it and then, restart your PC.
Also, if you feel that the error has occurred on updating your Windows 10, you can roll back to the previous update. On your PC, go to Settings » Update & Security » Windows Update» View update history. Here, click on uninstall updates‘ written in blue ink. Then, check the latest update installed on your PC and click on the ‘Uninstall‘ option, restart your PC. Now, check if the Search on your Windows 10 PC is working smoothly. If not, execute the methods listed below.
Method 4: Run Indexing troubleshooter.
Using this troubleshooter, you can fix Windows 10 Search not working. Follow the steps listed below to execute this method. Step 1- Go to your Settings » Update & Security » Troubleshoot. Step 2- Click on the ‘Search and Indexing‘ option and then, select the ‘Run as troubleshooter‘ option.
Step 3- A list of options will appear on your screen. Check the options which are relevant to your PC. Step 4- Now, click on ‘Next‘ and be patient till the troubleshooting is completed. Now, check if your Windows Search has started functioning. If not, go to the next method.
Method 5: Restart Windows Search.
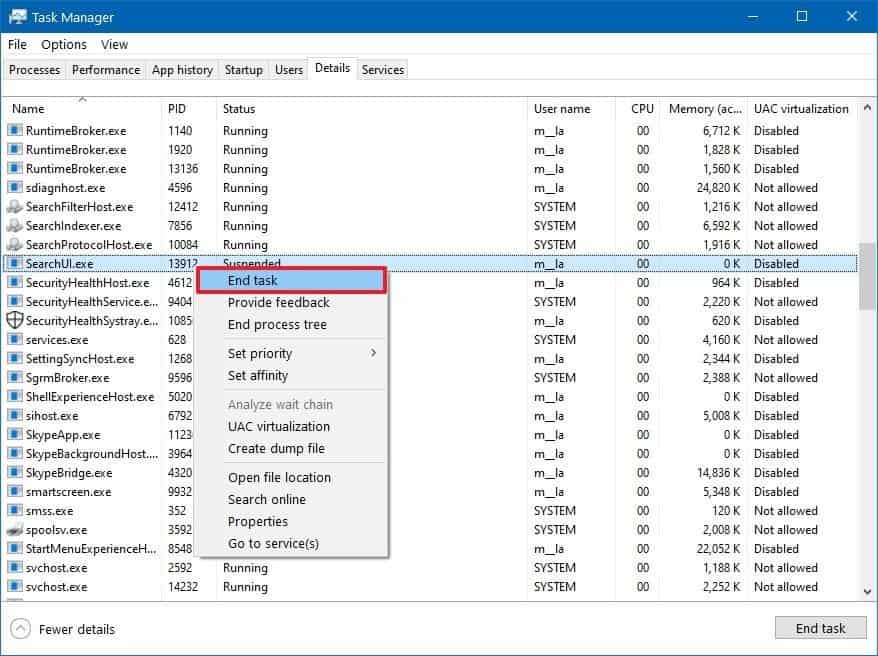
To restart Windows Search, you need to end the SearchUI process. Follow the steps listed below to do so! Step 1- Launch Task Manager on your PC. Step 2- Here, go to the Details tab. Step 3- Search for SearchUI.exe from the list of options and right-click on it.
Step 4- Select ‘End task‘ from the drop-down box which appears on your screen. Step 5- Finally, click on the ‘End Process‘ option and restart your PC. Now, check if your Windows Search has started functioning. If not, go to the next method.
Method 6: Modify Windows Search service.
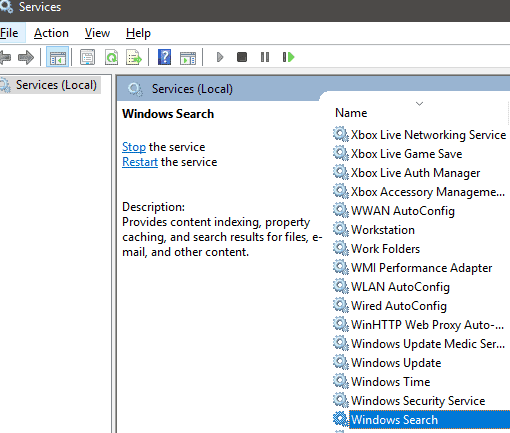
Step 1- Launch ‘Run‘ on your PC, type services.msc in its text box, and hit Enter.
Step 2- Here, locate the Windows Search option and right-click on it. Step 3- Select ‘Properties‘ from the drop-down box which appears on your screen. Step 4- In the General tab, modify the Startup type to Automatic and then, click on OK to apply the changes. Now, restart your PC and check if the Windows 10 Search not working error has been fixed. If not, go ahead with the next method.
Method 7: Rebuild the Index.
Step 1- Launch Control Panel on your PC. Step 2- Select ‘Small icons‘ in the View by option and click on ‘Indexing options‘ from the list. Step 3- Click on ‘Advanced‘ to open advanced options. Here, click on ‘Rebuild‘ located in the Troubleshooting section. Then, follow the on-screen instructions to complete the process. Check if the Windows Search not working error has been fixed.
Method 8: Reset Cortana.
Step 1- Open Start on your PC and locate Cortana in the list of all apps. Step 2- Right-click on it and click on ‘More‘ from the drop-down box. Then, select the ‘App settings‘ option. Step 3- In the Settings, locate and click on the ‘Reset‘ button. Now, check if the Search on your Windows 10 PC is fixed.
Conclusion:
These are some of the best methods which you can use to fix Windows Search not working on your Windows 10 PC. The steps involved in these methods are easy to understand and execute. If we have missed out on any such useful method to fox Windows 10 Search not working, then please let us know about it in the comments section below.
Δ