Upgrading is the process of replacing a product with a newer version of the same product. In computing and consumer electronics an upgrade is generally a replacement of hardware, software or firmware with a newer or better version, in order to bring the system up to date or to improve its characteristics. You have two kinds of upgrading;
#1. Hardware Upgrade
Hardware upgrading is the replacement of new hardware with the old versions. Or an upgrade is a term that describes adding new hardware in a computer that improves its performance. For example, with a hardware upgrade you could replace your hard drive in an SSD and get a huge boost in performance or upgrade the RAM so the computer runs more smoothly. Like this, you can upgrade various components of the computer.
#2. Software Upgrade
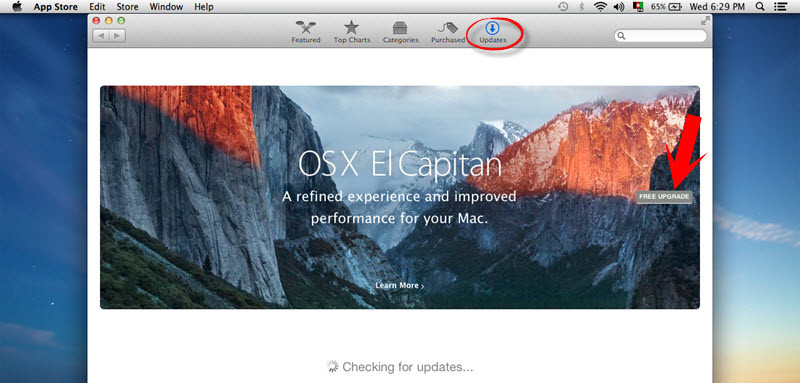
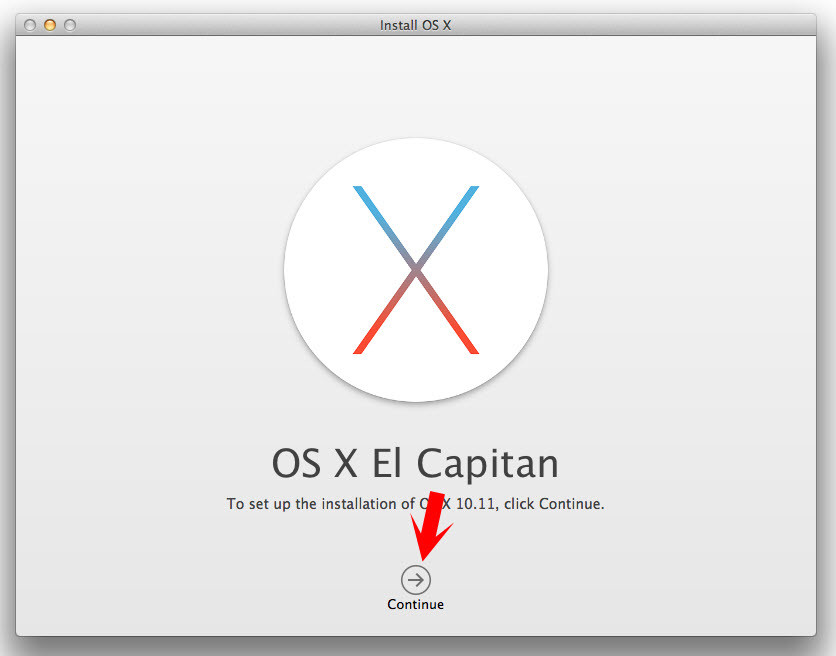
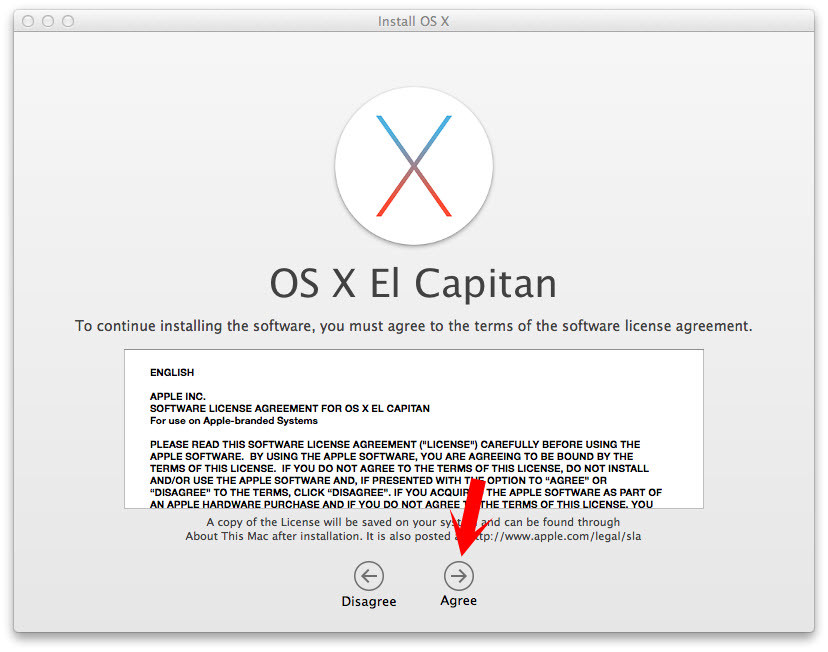
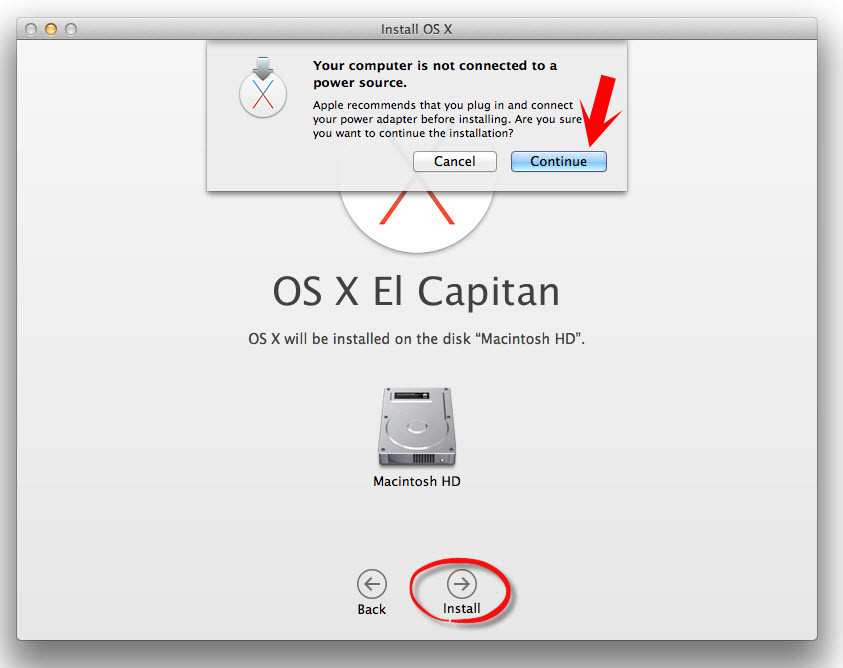
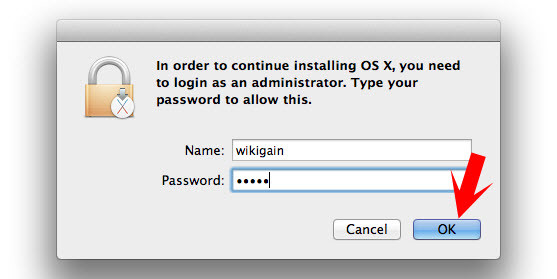
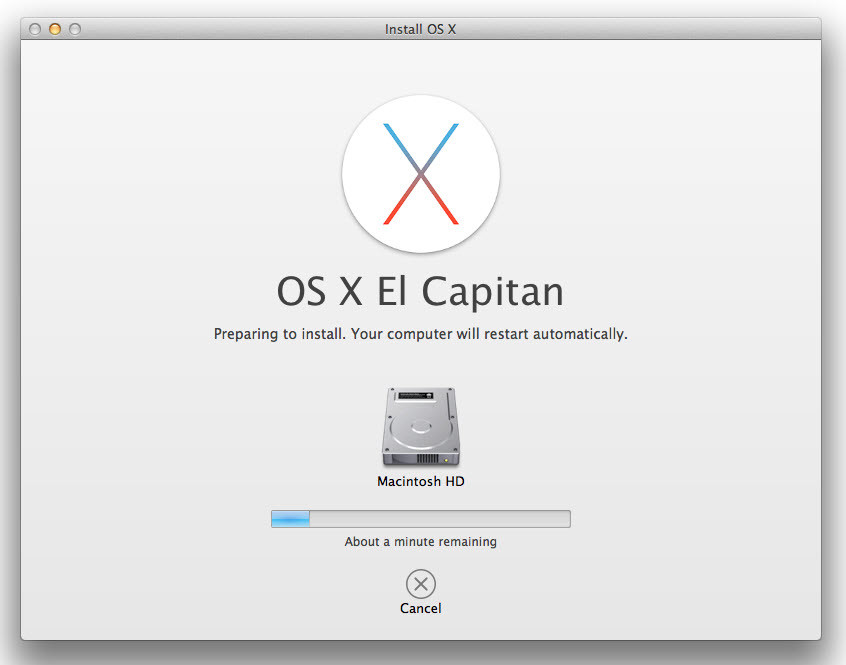
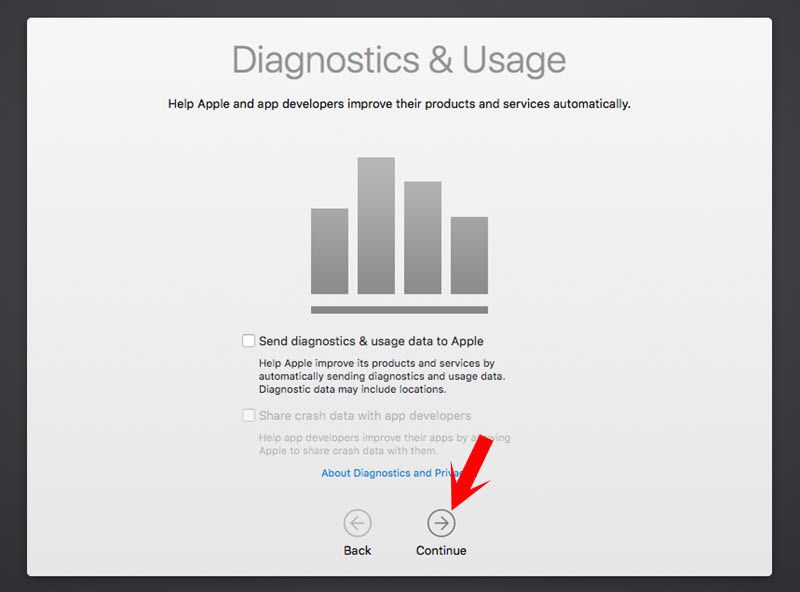
To replace (a software program) with a more recently released, enhanced version. For example, you may be running version 10.10 of Mac OS, version 10.11 is an upgrade, and version 10.11.4 is an update. Another good example of a software upgrade is upgrading you version of Windows. For example, if you had Microsoft Windows 8.1 and were upgrade to Windows 10, it would be considered a software upgrade. Now that you have understood the meaning of upgrading and let’s get started with “How to upgrade Mac OS Yosemite to El Capitan” To upgrade Mac OS Yosemite to El Capitan, the latest updates from Apple.Inc, open the “App Store” from the apple icon> Apple software update. click on the update tab then tap on “Free Upgrade“. You will be asked to enter your apple ID. Type your apple ID plus password. The upgrading process will start from here and you must wait for some minutes. This depends on the speed of your internet connection. However, the internet should be speed then the OS X El Capitan will be downloaded soon. Note: Your laptop should have enough charge to complete the upgrading task. Once the downloading is completed then you will see the below screen. To set up the installation of Mac OS X El Capitan 10.11.4, click the “Continue” button. To continue installing the software, you must agree to the terms of the software license agreement. Read carefully the policy and hit the “Continue” button. If you have multiple hard drives on your Mac device, so choose one of those hard disks. If you have only a hard drive. Click the “Macintosh HD” then hit “Install”. Right after tapping on “Install” button a small window will pop up that warning you to plug in and connect your power adapter before installing. Click “Continue“. Enter your machine username & password then hit “OK” button. Now, OS X El Capitan will start installing on the HDD that you have selected. Set back and relax. During upgrading process, your computer will restart for several times, so don’t do anything just set back and wait. In the “Diagnostics & Usage” window, click continue. It’s done now! If you have any kind of question, just put a comment on this post. Upgrading will take lots of time so if you want to have a clean installation of Mac visit this article. How to perform a clean installation of Mac OS X El Capitan? Thanks for being with us.